So what did you doing to be socially distanced responsibly?
I was supposed to be working in a deli but I had a terrible hacking cough. No one wants "slice, slice, cough, cough, slice slice, here's your lunch sir". I didn't return to the deli.
One day durring that time was such a beautiful day and I had pretty much exhausted my other source materials. I spent some time in the sunsine with my camera and some specialty lenses and equipment to capture images of what was blooming in our yard. I've got a set of 3D images to share with you.
I'll go through my diatribe about 3D for those of you who are new to my web site the rest of you can skip ahead.
3D Images:
OK. We're at the skip to point. Time for commentary and some images. After the images I'll include some technical information for other photographers.
I used a Loreo Macro image splitter for some shots and a Loreo image splitter for some others. I also used my main camera (Sony A77 II) with a Sony 24-70 lens mounted on a Manfroto slide for the rest.
Going deep into a daffodil. The cup come right off the screen to meet you.
Here are two Daffodils with a less aggressive off the screen look. The convergence is at the leaves.
Another daffodil done with the slide and convergence back at the petals.
Last Daffodil shot with the Loreo Macro, offset to force convergence to the edge of the cup.
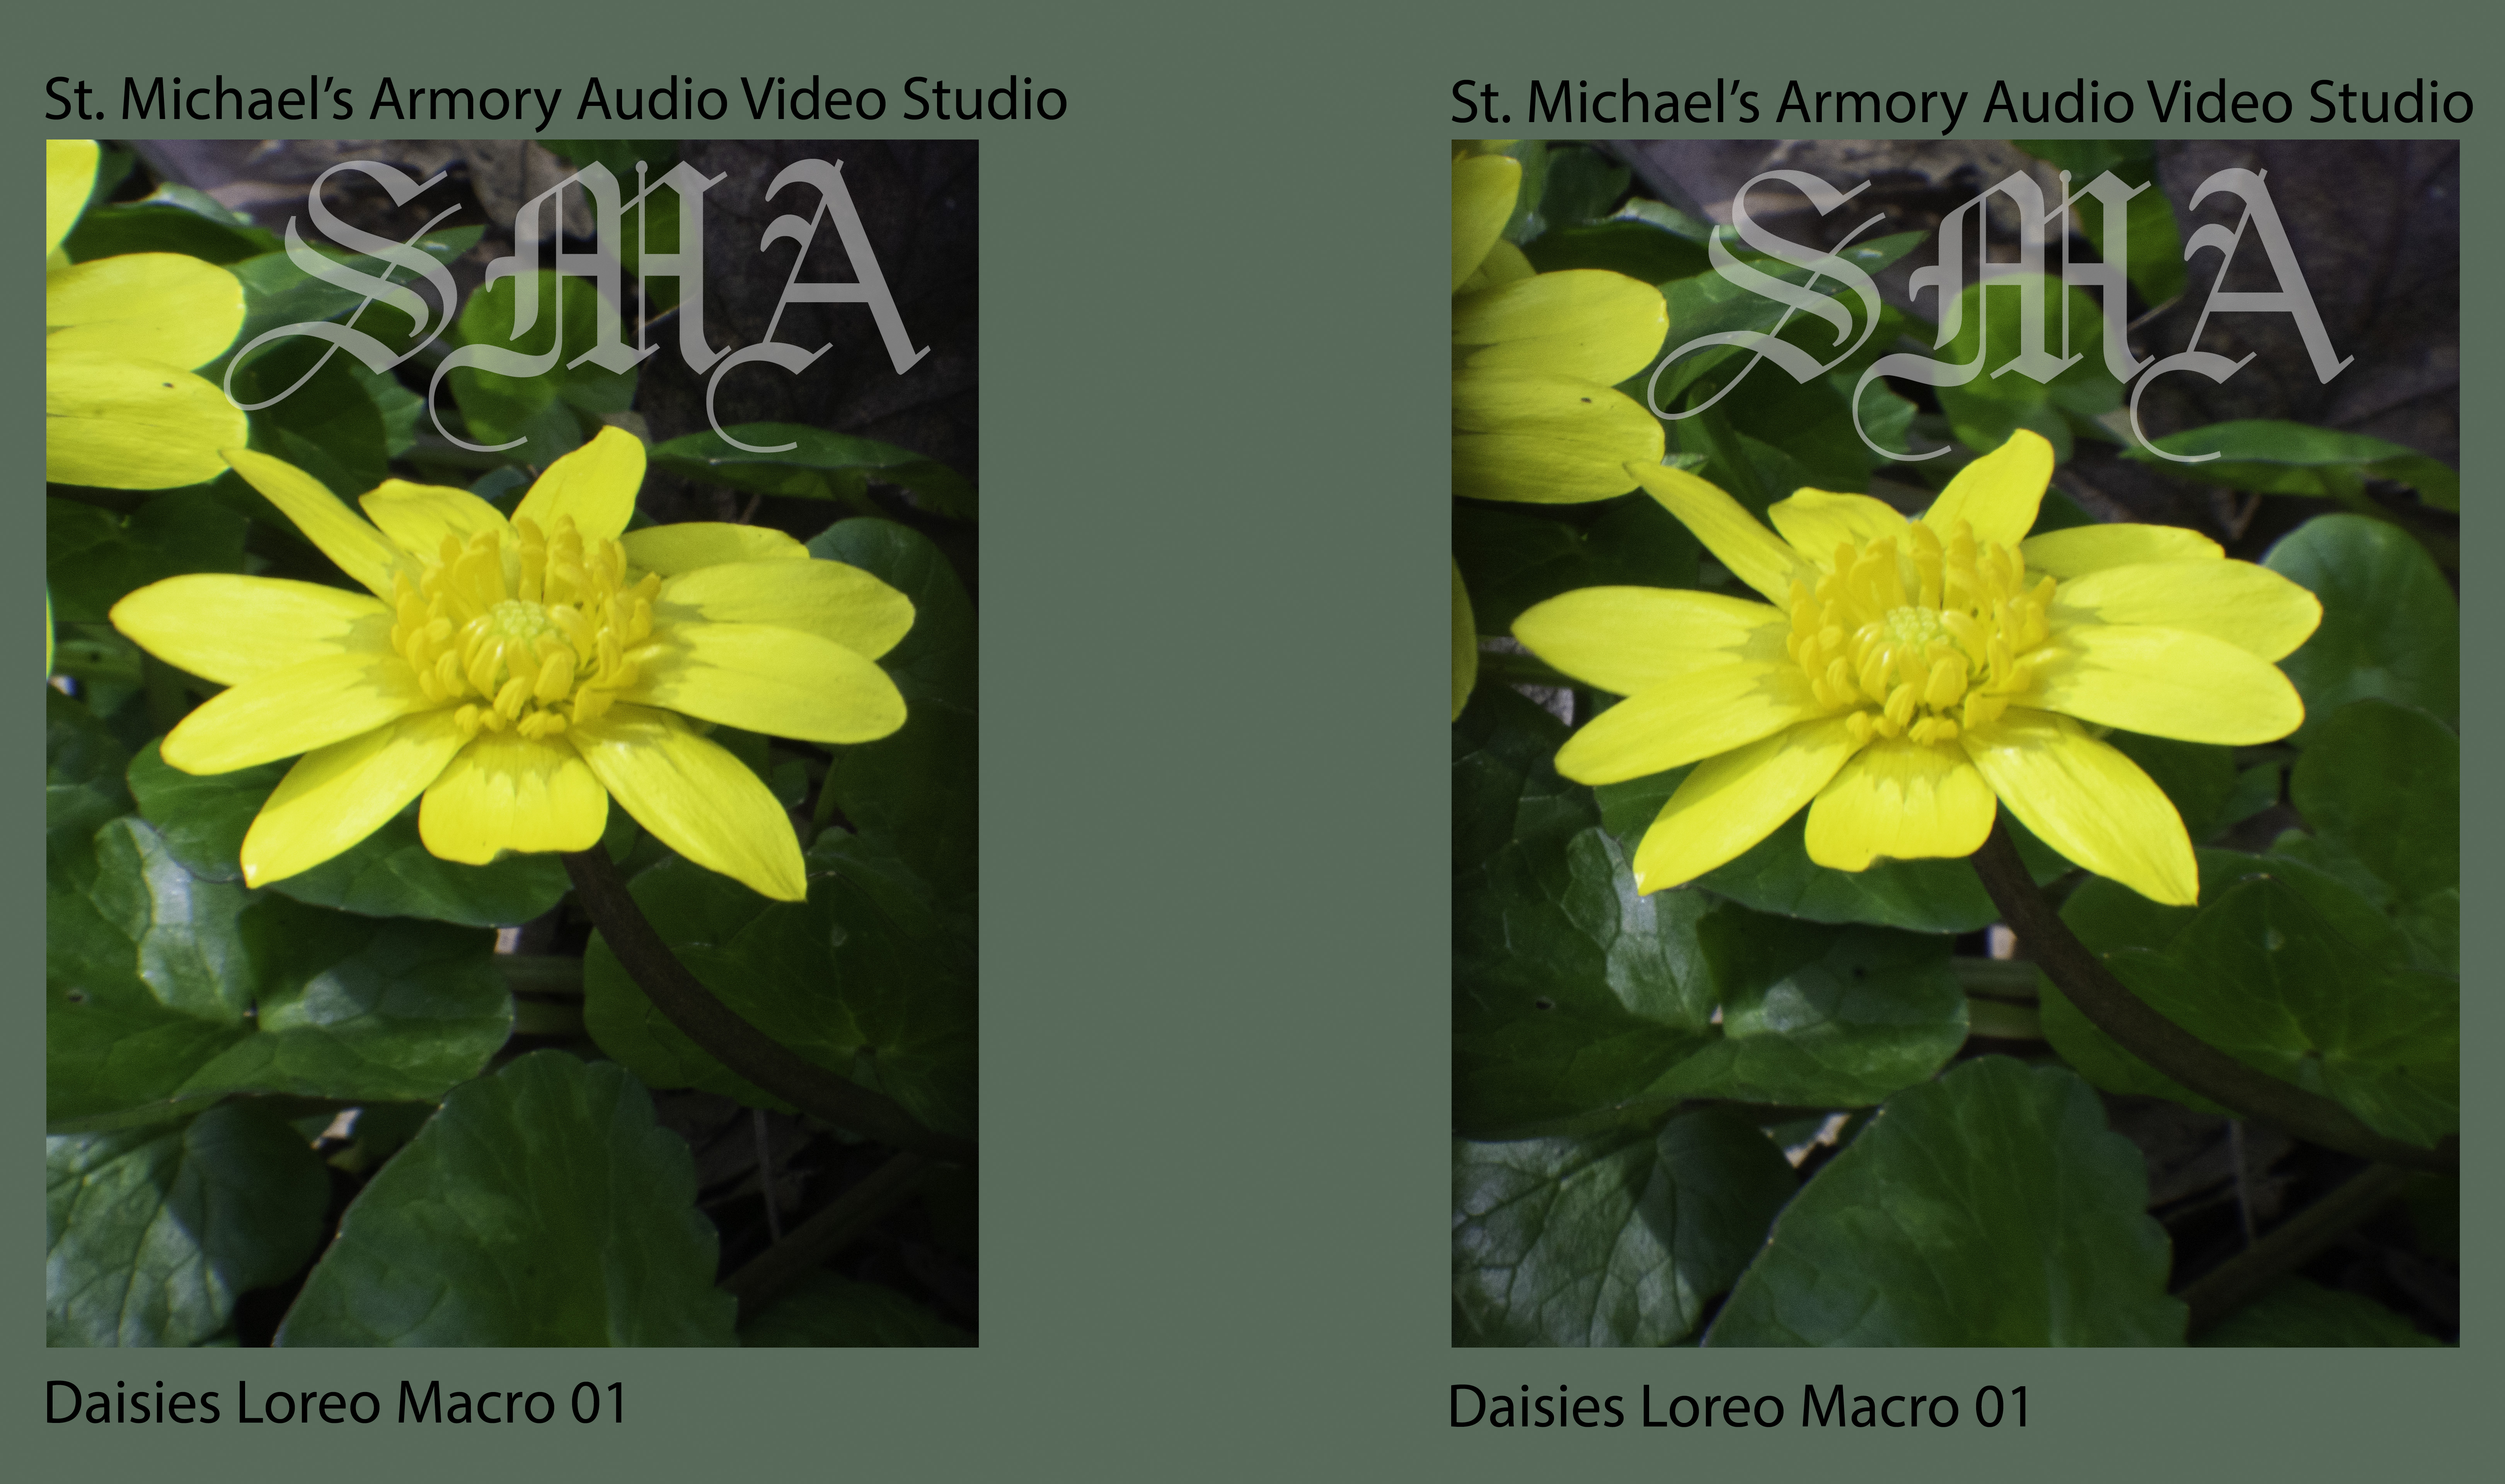
I'm not a horticulturist, they're all weeds unless my wife calls them something. I call these daisies. This image is with my A77 & a 24-70 lens at 10mm slide left to right.

The Loreo Macro lens has a lens separation of 25mm with a focal distance of 23-85mm. I think the separation is a bit much and the images tend to jump out at you.
I have a bit of a stability issue whenever I look up, couple that with looking throough a viewfinder with a split image lens and a light breeze moving the subject around... Snapped this before I fell over. Flowering pear tree:
Here is another shot of the flowering pear with the A77+24-70 about a 20mm slide:
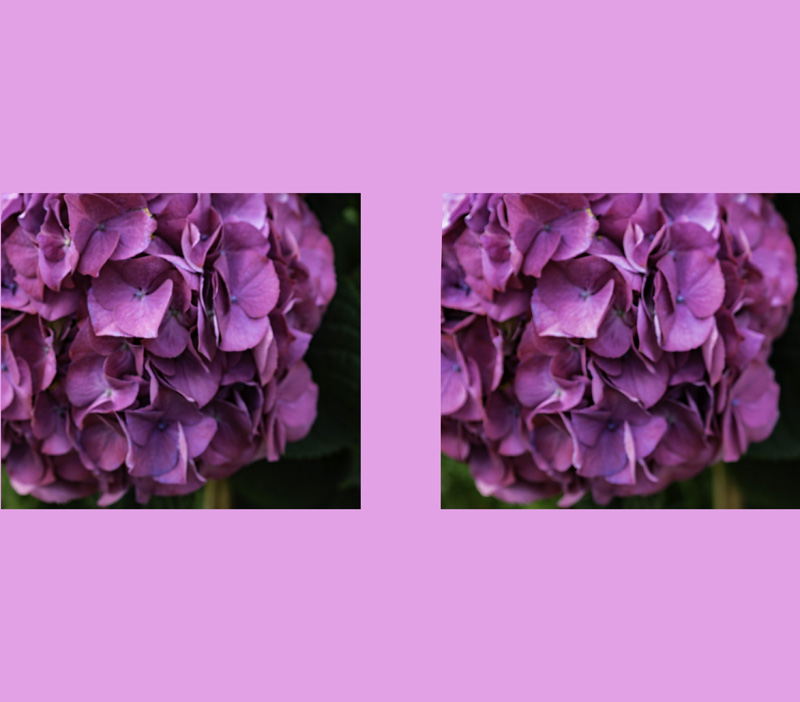
Like I said, I don't know plants so I'm probably wrong, I think these are grape hyacinthus with the loreo macro. The wide septum (middle distance between images) is an attempt to force the convergence back a bit.
Even with only a 15mm slide I needed to separate these images a lot to get the convergence at the top of the plant so we are looking down into the image.
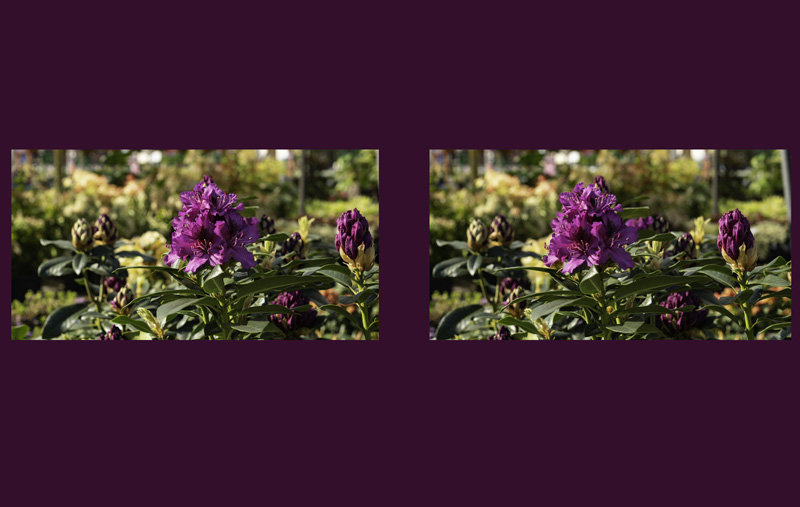
Here is another shot with the A77. I beleive the slde was about 20mm with this wider shot.
Pussy Willow with the Loreo Macro.
This shot of the pussy willow is with the A77+2470 with very little forward from the screen plane. Ialso used a new sjdustment in the Photoshop Camera Raw to add a bit of texture to the images.
This last shot of the daisies with the loreo macro lens again has a wide septum to soften the amount of depth from the screen plane.
I've added some other shots from past adventures. Hope you enjoy!
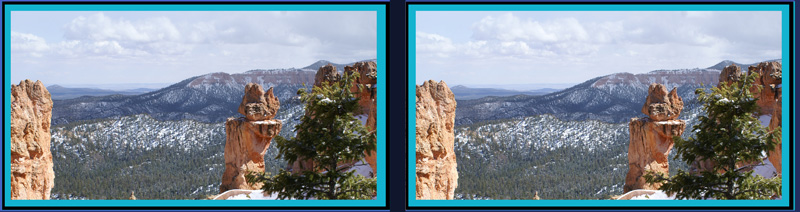
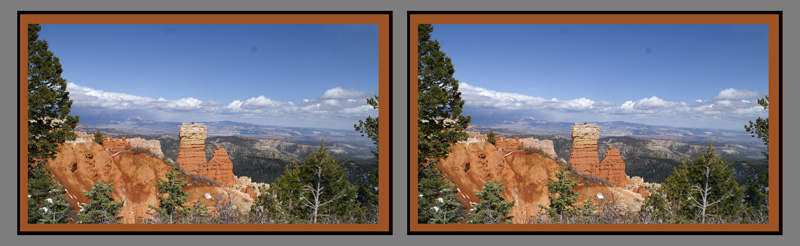
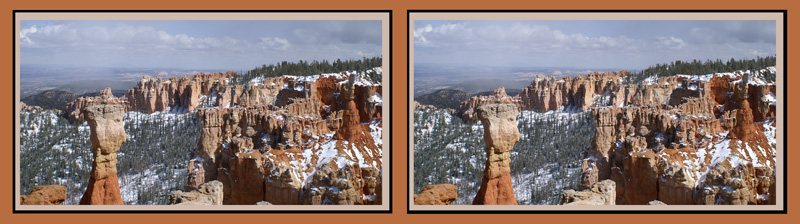
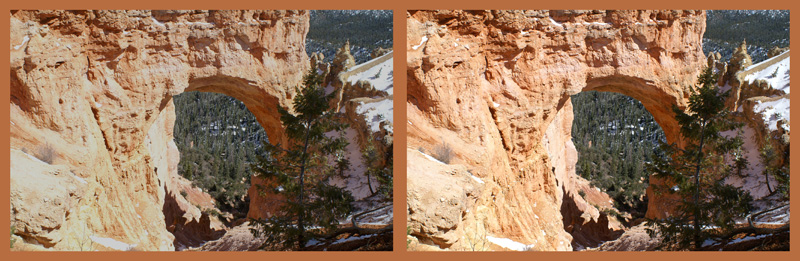
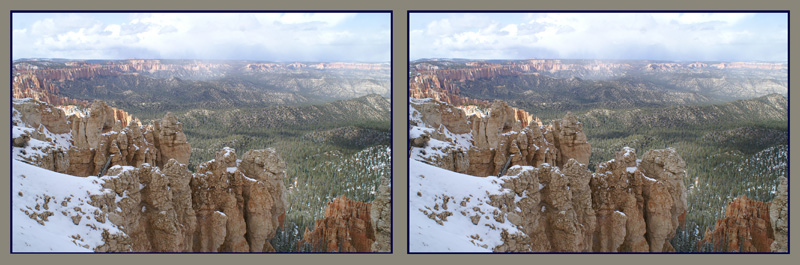
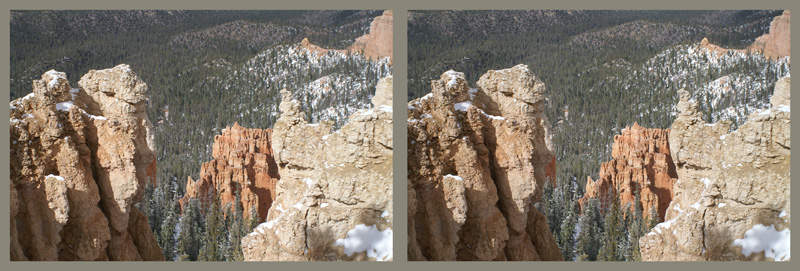
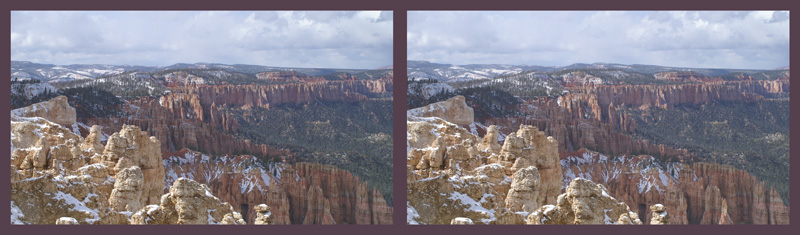
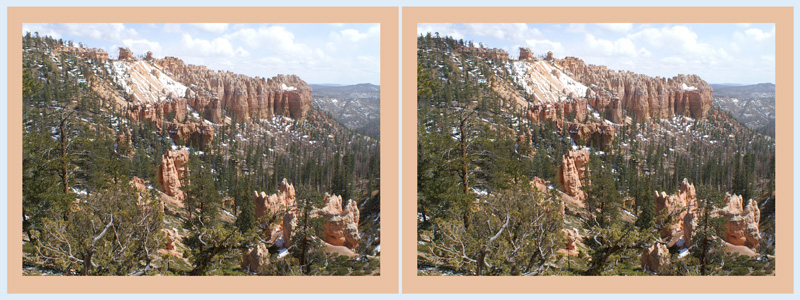
We did a long trailer vacation to Bryce Canyon and Kodachrome on our way to visit the kids in New Mexico. Our return route was through Arizona to vist Margie's brother's family. It was April, and pretty mild here in Oregon and we were going to the desert - we packed for sun. Bryce Canyon starts at 4500 ft and climbs to 11,000! It snowed on us at the KOA we used as base camp. I pulled out at scenic stops to jump out snap a few and jump back in ot the truck. Margie stayed in the cab.
Here are some stereograms (side by side 3D) of Bryce:
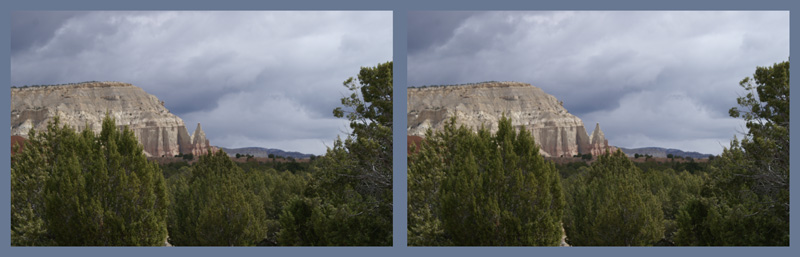
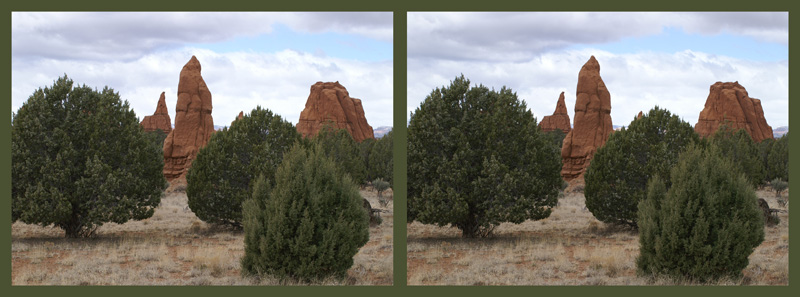
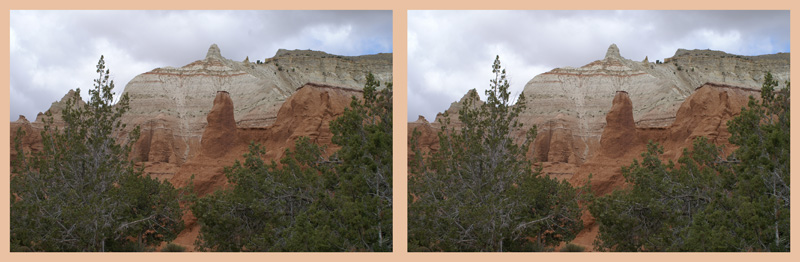
Close by is KodaChrome canyon:
We really liked this campsite: Showlow:


Casa Grande ruins was interesting:

MORE Flowers! Well, I loike the close ups and they are pretty easy to capture. The colors really do not do well with the anaglyphic (red/blue glasses), but really come through with stereograms.

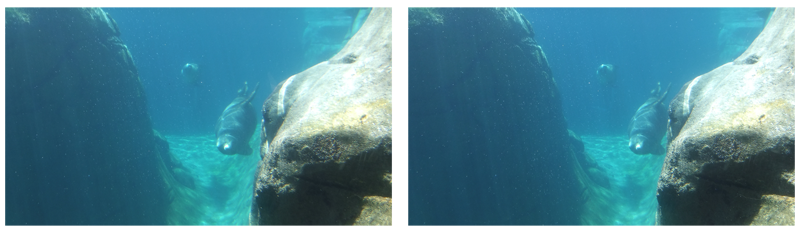
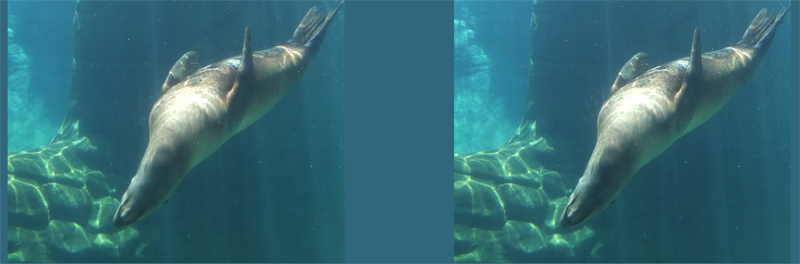
and just a couple of shots from below the surface:

Return to TOP
Technical Talk for other Photographers:
Technical Talk for other photographers:
I really do intend to so some tutorials very soon. Watch my youtube channel St.Michael's Armory Audio-Video Studio (caution there is another st. michael's armory I have nothing to do with).
This article brings to light some of the technical issues in doing this set of images out in the front yard.
It was a time to experiment in close up work using the Loreo Macro 3D spit image lens. It's focus range is from 23-85 MM (9 - 33 inch) with a constant lens separation of 25mm. I find that septum a little wide especially in the closer focus ranges. That's why the results push the convergence (point where the image appears at the screen distance) too deep into the fused (fusion is when your brain puts it together to be 3D) image Pulling the convergence forward to make the image less aggressive (in your face) can be forced to some degree by a greater septum on the composite image, but only to a limit. Think of how your eyes work when you look at something close up: normally the pupils are in the vacinity of 65MM (2.5 inch) separation when you focus in closer the eyes tow in to reduce the separation to about an in and a half (35mm or so). So you might think then that 25mm should be ok. But we get closer that our eyes will focus in macro photography. I've used as little as 10mm displament with my slide and Sony A77/24-70mm with better results.
I also shot a few with the Loreo 3D 9005 digital ASP-C lens. It has 1.25 inch (just under 30mm) lenses separated by 3.5 inches (almost 90mm) This is a little wide for 1.5, 2.2, and 5 Meter focus settings in my oppinion. I haven't found going too much wider than 2.5 - 3 inch separation to return really good 3D. After all, the further away some thing is, the less depth perception is realized in real life. Here again playing with the composite image septum helps some.
The advantage I've found in using these lenses is the ability to capture things in motion where the Manfroto slide is good for landscapes and other still objects. In both cases, keep in mind that with the split image captured by the camera sensor, the usable image (with out the self imposed septum) is less than half of the sensor. If you have a 35mm sensor with two images on it, you are already at 70mm equivelent lens.
3Dstereo.com carries a series of the Loreo lenses for a variety of mounts, but none of them talk to the auto focus or auto exposure controls. The do have a limited set of apature settings so I control exposure with shutter speed and ISO.
For the rest of the images I used my Sony A77 ii (same camera I used with the Loreo lenses) and my Sony 24-70MM f2.8 lens mounted on a Manfroto 454 slide that can give a left to right displacemnt from 0-120mm. Obvious to the most casual observer, a tripod is a must and I usually use a cable release. The split image lenses do allow for free hand shots, the slide doesn't. The disadvantages of the slide is the length of time it takes to set the displacement, your subject the tripod and any movement but the side to side displacement must be absolutely nill.
The advantages though include the great range and fine control of lens displacement (septum) with no natural septum blur as in the split images. And you can use any of your lenses!
I controlled the separation in the close ups to 10-20mm and got some nice controllable convergence in the composite images.
3/26/20 I've published a three tutorial set on Youtube for 3D Photography: Equipment, Image Capture, and Image Processing.
Mark.
Return to TOP
Ordering Copies and Viewers:
I remove the SMA watermarks from any print or digital copy.
I have some of the cardboard mailer type Loreo viewers. Email me with your hard mail address and I'll send one to you with a bill for $7.00. These viewers can be used with cel phones or tablets. I have an apple 6S and can size the images to fill teh screen and get a good fusion. The ideal image size is about 7 inch total composite width at about the same focal length.
I can also print a set of images on 4x6 paper and combine with the cardboard viewer: 6 prints and a viewer for $12.00. Just email me with your selection of titles (bottom of the composite image).
Digital copies or prints of either the composites or one side or the other can be ordered. Digital copies at $5.00, prints at $5.00 plus print costs and shipping, so it depends on size. Digital copies are jpeg at full resolution. Just email with your selections and I'll bill accordingly.
Viewers can be ordered from 3Dstereo.com. Two that I use for viewing are the Poke Scope for laptop and lager tablets and the FD SS1 Stereoscope for my large monitor. I'll order them for you if you wish, but I'll charge for handling and shipping.
Thanks!
Mark
Return to TOP
